Satin Stitch Applique
| You can do it! Here's how... |
| Materials and tools |
|
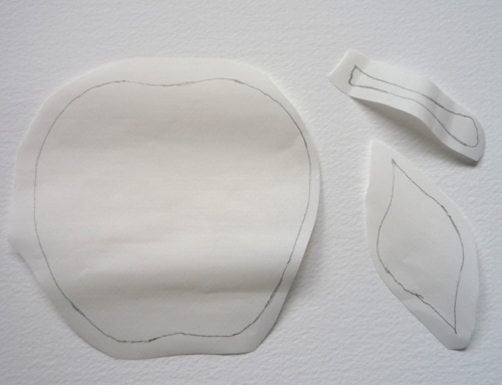 |
| Take your iron-on adhesive with the glue side facing away from you (the glue side feels rough and bumpy), and place it over your applique design. Trace each of the shapes in the applique design separately onto the paper side. Just roughly cut them out like above. |
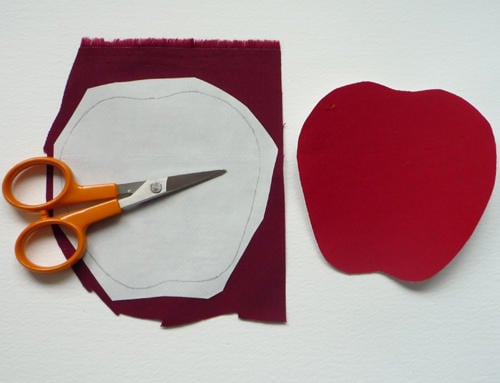 |
| Place the pieces adhesive side down onto the back of your applique fabric. Follow the instructions for ironing it on to create the bond. Then cut the shapes out neatly following the traced pencil line using scissors – I like to use small sharp embroidery scissors as pictured above. |
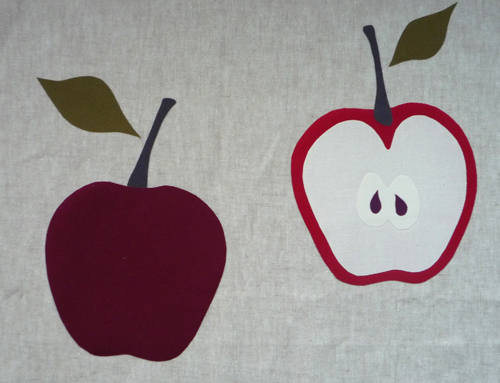 |
| Peel off the paper backing and place glue side down onto your crafty project. Follow the instructions to iron it on. If you're using no-sew adhesive this is it finished! But we're stitching this one so grab yer sewing machine... |
| HINT If you haven’t sewn applique before do have a little practice on some scraps of fabric first! My best advice is to make friends with your sewing machine and learn her quirks - every bit of electrical equipment I have needs just the right encouragement/a jiggle here and there - but this might just be me! |
 |
| Set your machine to a zig-zag stitch and adjust the zig-zag stitch length (so the zig-zag closes up into a satin stitch) and adjust the width to your taste - you might want a thick stitched line or a thin one, there's no right or wrong – have a play with the settings on your machine and see what looks good to you. At this stage you will probably need to adjust the tension settings on your machine, which will be particular to suit your fabrics and the quirks of your machine - so use your machine's instruction booklet to find the dials or buttons to adjust the settings. TIP When changing tension settings on your machine just try changing one at a time and have a practice stitch - then adjust and see how that affects the stitching. Believe me if you twiddle them all at once (hmm... guilty!!) you can't tell what's helped or hindered!
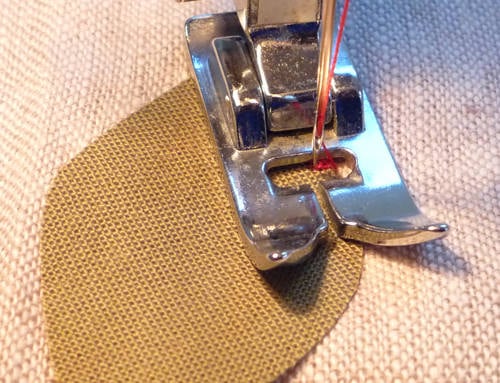
Aim to just overlap the applique edge, trapping the raw edge under the stitching as shown in our photo - here I'm sewing around a leaf shape using red thread to make it easier to see. Do 'cuse the fluff on the foot... For tighter curves or angles go slowly and leaving the needle in the fabric lift the foot, then turn your applique, lower the foot and carry on sewing – for tight curves/angles you might need to do this frequently, so have a practice until you get the feel for it. TROUBLESHOOTING If it's all a bit skew-whiff and/or you've a bird's nest at the back no matter what you do, try re-threading both the top and bobbin threads - the most common issue with machines is them not being threaded correctly. Is there a bit of a squiggle in your stitched edge? That's okay y'know, we're aiming for handmade here and no-one will have the microscope out, we're not competing with a computer controlled machine! I keep saying this, but it's worth saying again - really there's no applique police! TIP You can choose to have threads that match your fabric so that the stitching blends in, or you can choose to have a contrasting colour so the outline is emphasised - the choice is yours! |
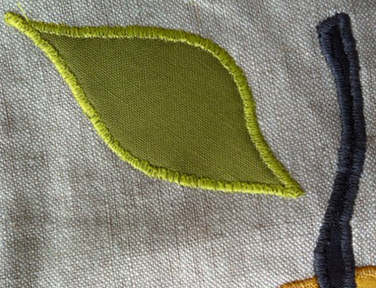 |
| Finish stitching around all of the edges of all the applique design, snip off all the loose threads close to the stitching – and you're done! |
| TOP TIPS! Don’t forget to change the needle in your sewing machine from time to time, admittedly I don’t do it for every project.... but I do reasonably frequently, as I’ve found a sharp needle makes all the difference! If your fabric is proving to be a slippery so-and-so [insert stronger terminology if you like!] and is totally refusing to co-operate, try using a piece of thin paper at the back of your project (so it sits on top of the feed dogs, with your project on top) and sew through that. The paper at the back will just fall away from your project as the zig-zag stitch punches so many holes in it. |
