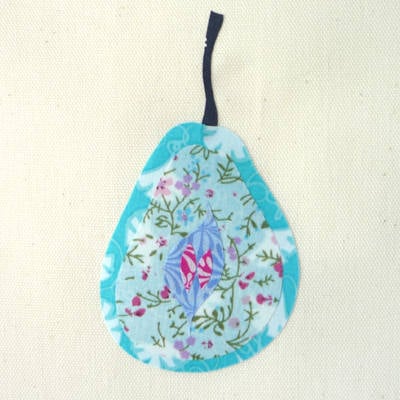
Easy peasy no sew applique
 |
| What you will need:
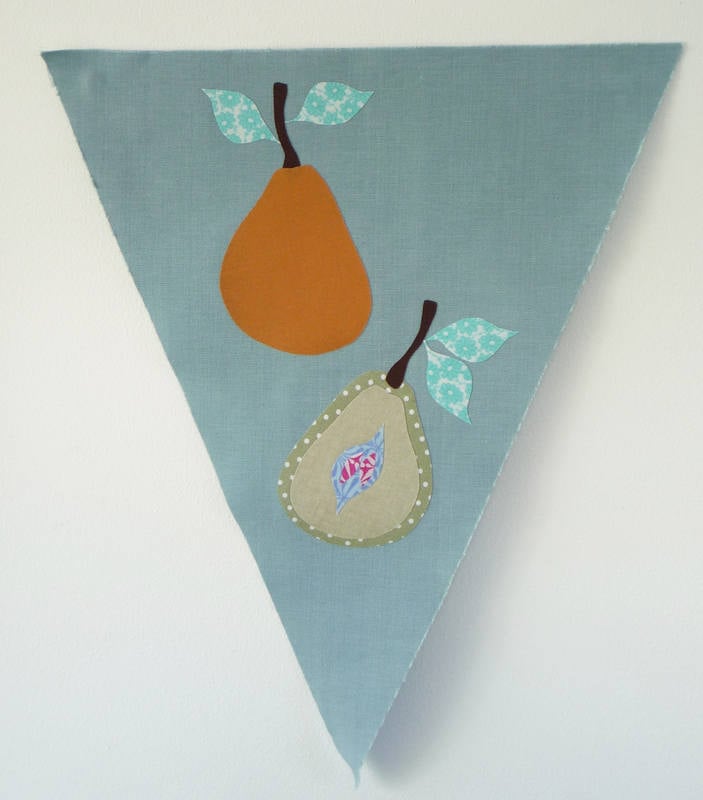
This method is so fast and easy, decorating large items such as curtains or duvets, or making a pile of bunting, is super quick.
|
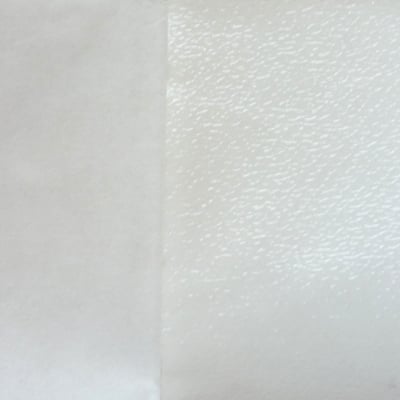 |
| This is what the iron-on adhesive looks like, it feels like a sheet of paper on one side and is a bit bumpy on the other side. On the left of the photo you can see the paper backing, and on the right of the photo is the adhesive side - this bumpy glue surface smooths out once you apply heat to the paper side. You can get two types of iron-on adhesive. One is completely no-sew, and is not meant to be sewn after ironing. The other kind can be sewn after ironing-on your pieces - and is the type to use if you want to add some decorative machine stitching or embroidery to your final piece. |
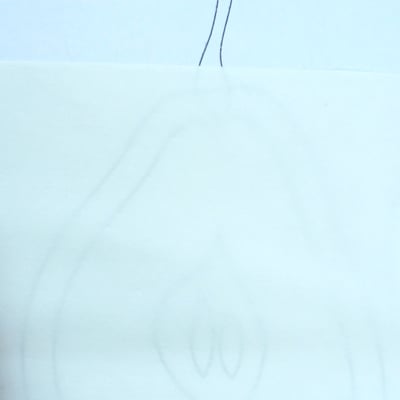 |
| Print off your applique template, or sketch your design. Then place the iron-on adhesive glue side down on top of your applique template. As you hold it down while you trace you will be able to clearly see the design through the iron-on adhesive making it easy to accurately trace the design!
|
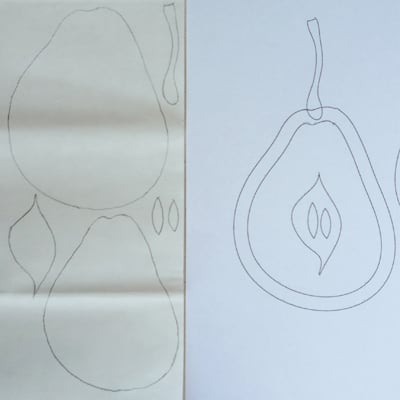 |
| Draw round each part of the design separately. In the right of the photo is Kip & Fig's pear applique template design. In the left of the photo is all the parts of the pear design traced separately onto the paper side of the iron-on adhesive.
|
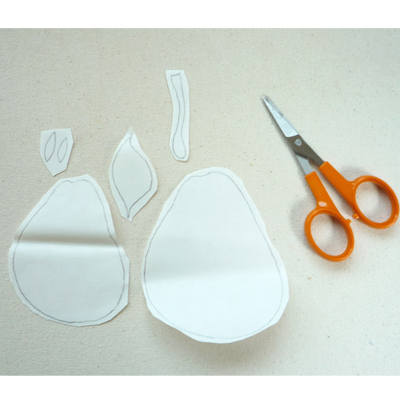 |
| Cut out the iron-on adhesive shapes - just roughly cut around the outside of the design. A small border will use up less of your fabric in the next step. |
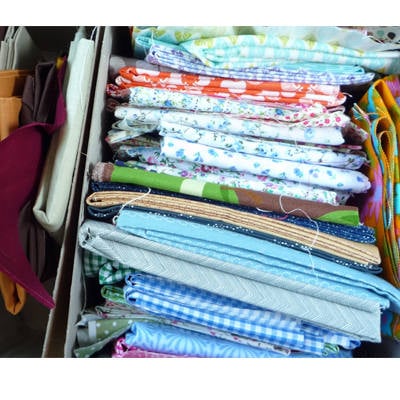 |
| Grab your fabric stash and have a play, mixing and matching fabrics! You can change the feel of the design by using plain fabrics only, patterned only - or mixing both together.
|
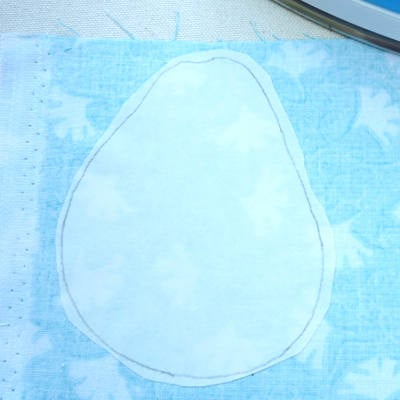 |
| Give your fabric a little iron first if it has creases in it, even though we fold our fabric away carefully it always seems to end up a bit wrinkled! Once you've decided on what fabrics you will use for each piece, place your fabric right side down - so that the wrong side of the fabric faces you. You can see in the photo that the printed side of the fabric is facing down and we are looking at the back of the fabric. Place your iron-on adhesive shape GLUE SIDE DOWN - so that the paper side faces you, as you want to iron the paper side, NOT the glue side! Check your iron-on adhesive instructions to find out how long you need to iron it for - it usually only takes a few seconds for it to bond.
|
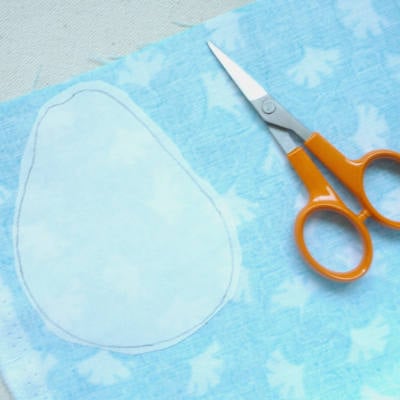 |
| Once it has cooled cut out the applique shape. We prefer to use small embroidery scissors because they are nice and sharp, and they make it easy to cut out flowing curves and smaller detail shapes. The paper backing of the iron-on adhesive makes cutting really easy and you should get a nice clean edge if your scissors are sharp. |
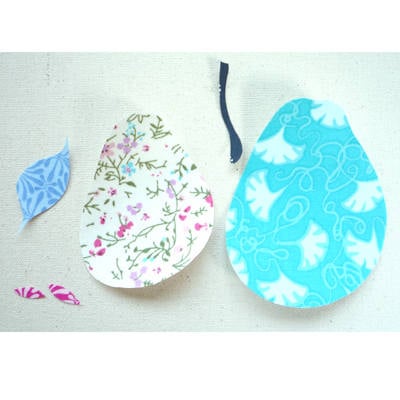 |
| Repeat the above steps until you have cut out all the parts of the design. You can see using this method you can cut quite fine and small shapes - if you are finding it hard to hold a small shape whilst cutting try using tweezers to hold it.
|
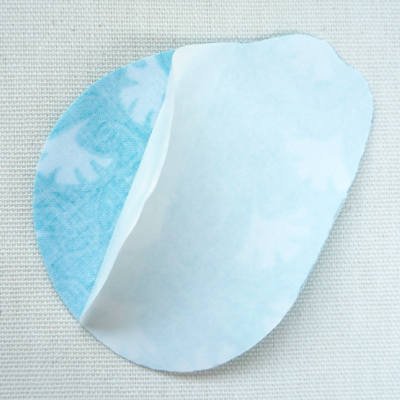 |
| Next you need to remove the paper backing on each piece of the design. You can see it just peels away easily - you are then left with the glue layer bonded to the back of the fabric shapes.
|
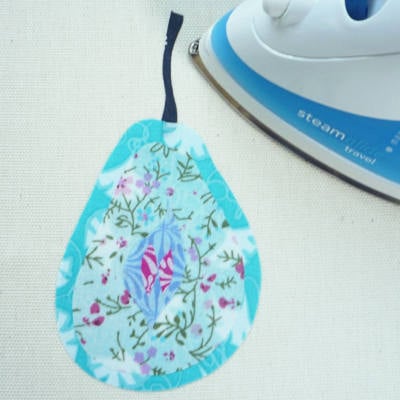 |
| You are now ready to iron your applique onto your fabric item - it could be a cushion cover, duvet, bag or whatever you decide! Don't forget this time to place the applique shape glue side down and iron the front of the fabric! You can choose to iron on each piece at a time, or you can arrange the pieces on top of one another and hold the iron on top of all the pieces. Just hold in place for as long as your iron-on adhesive instructions say for - again this is usually only seconds. |
|
DONE! |
| TIPs!
|

