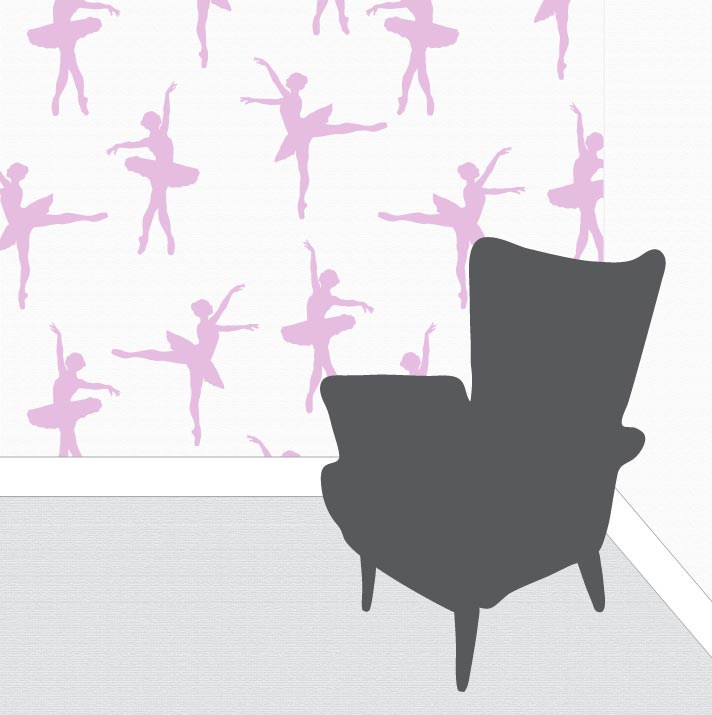
Paint your own wallpaper
|
Kip & Fig templates can be used for lots of crafting activities - so to give you some inspiration here's a free tutorial on how to trace and transfer a design to a wall with minimum equipment (and fuss). It's really easy to paint your own wall borders, have a single painted wall feature or repeat the design to cover an entire wall - so it looks just like wallpaper! I've used the ballet silhouette because there's a certain little niece of mine who loves ballet and pink (so y'know why mess with that winning combo?) - but you could use any colour - or any of the Kip & Fig templates! This is a great method if you're on a budget and want to refresh a room without the huge expense for wallpaper or wall decals. It might be low-tech but the results are fabulous so I hope you give it a go! All's you need is a bit of time, a steady hand and the following: | |
| Materials & Tools Kip & Fig template or draw your own design Soft pencil Biro or other hard tipped pen Soft eraser Two small bits of masking tape or sellotape A couple of small paint brushes Water based paint - this is easier to work with and clean up after (simply use water and soap on your brushes and hands). If you have acrylic paints use those or try household emulsion (small tester pots of colour are very affordable) and both types are wipe-downable once they are fully dry Your good self, this is a neat and tidy method (I promise we're not chucking pots of paint around) but you might want to wear a pinny, or some painting clothes, in case of spillages A wall that needs cheering up (btw the wall doesn't have to be white, and all your silhouettes don't have to be the same colour) | |
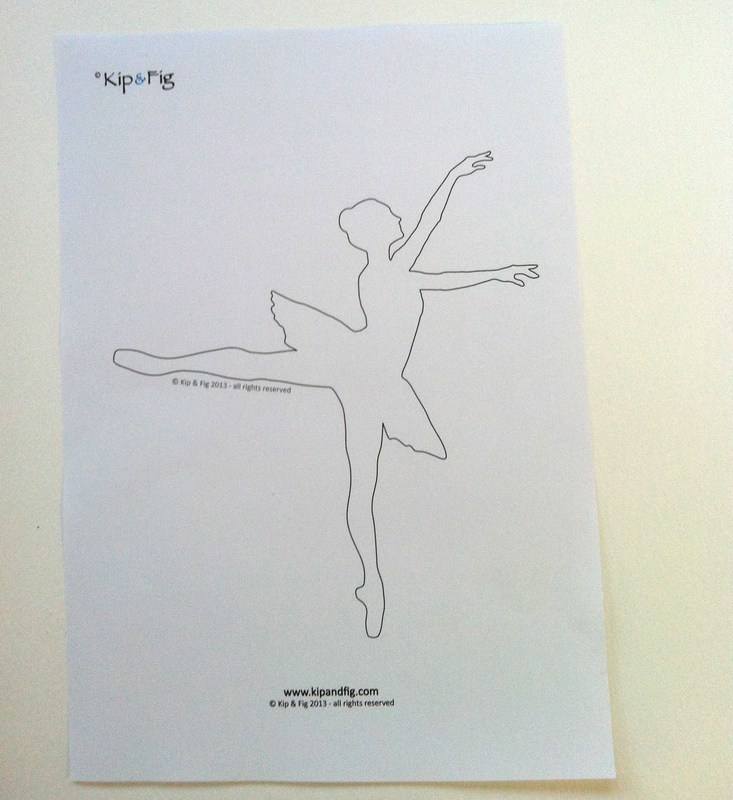 | Grab your template - in this tutorial we're using a Kip & Fig ballet silhouette template that's printed onto A4 paper, so the figure is approx 20 cm (8") high. Tip: You can always scale the templates up to make a design bigger. |
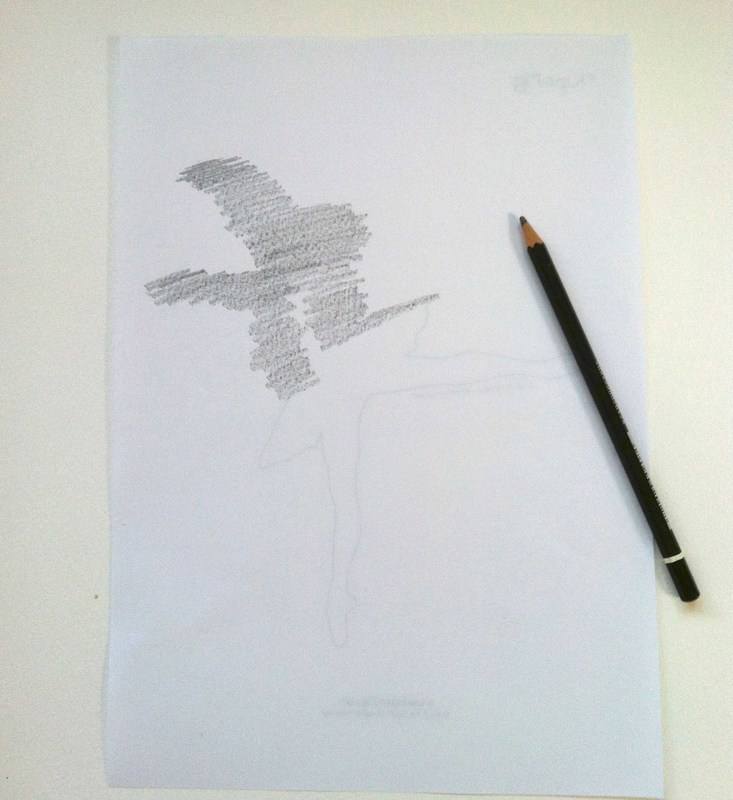 | Turn the template over and using the soft pencil 'scribble' over the outline (which you can faintly see through the paper) as shown |
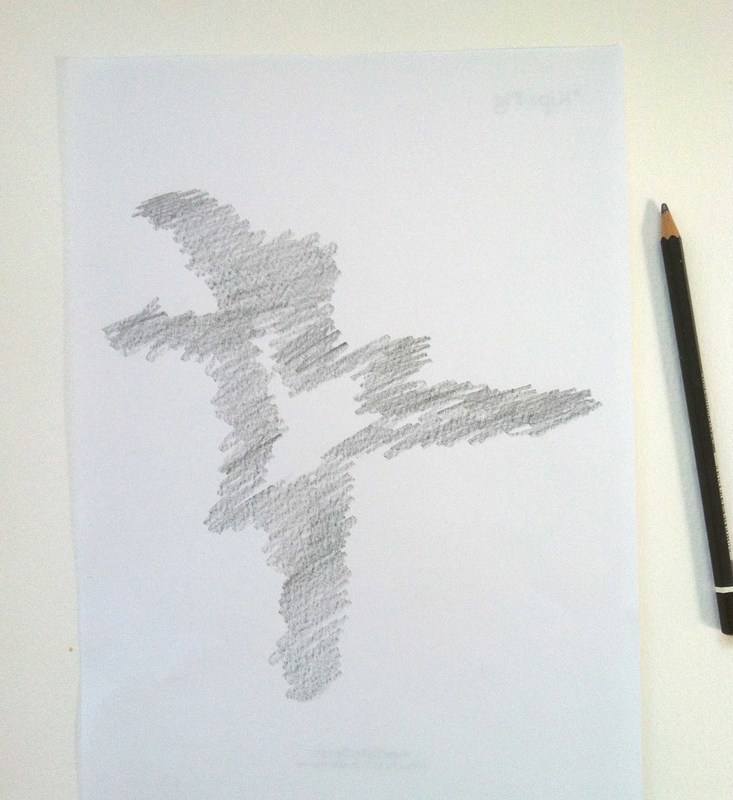 | Keep going right round the entire silhouette |
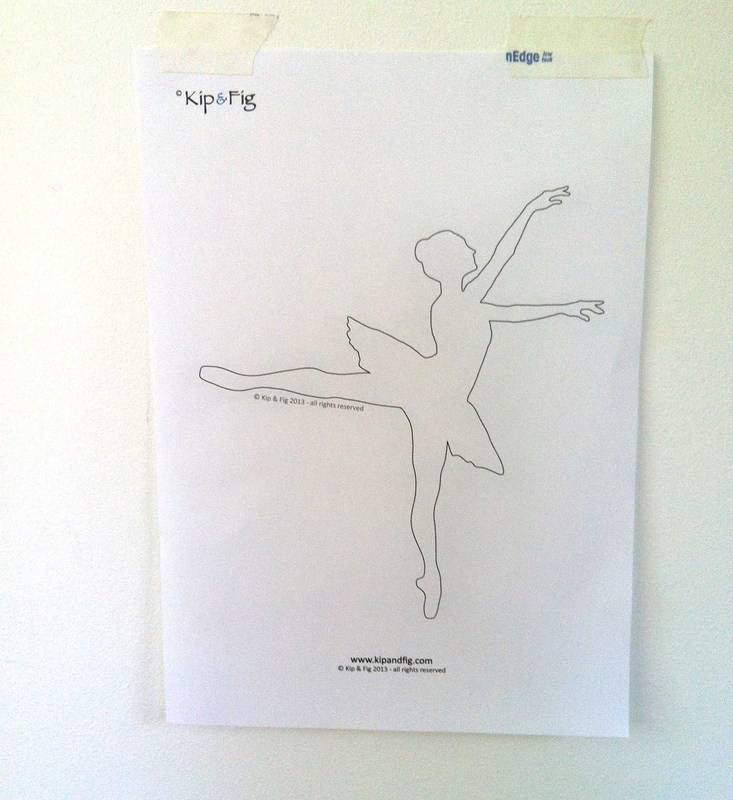 | Take your two bits of tape and stick the template to the wall with the pencil on the back in contact with the wall. |
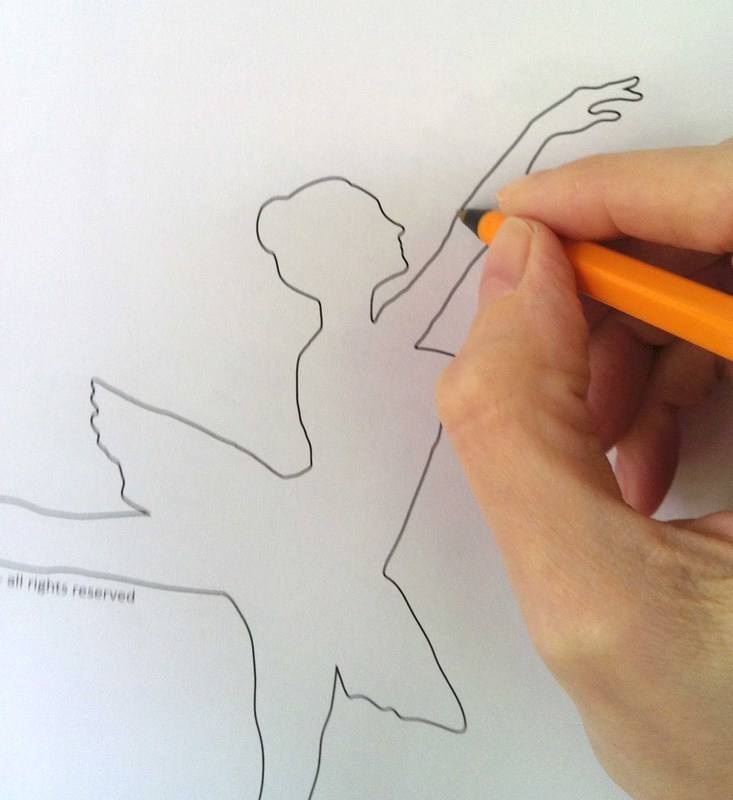 | Get the biro and pressing reasonably hard trace the silhouette. Take your time to trace it as accurately as you can. Trace the whole silhouette before.... |
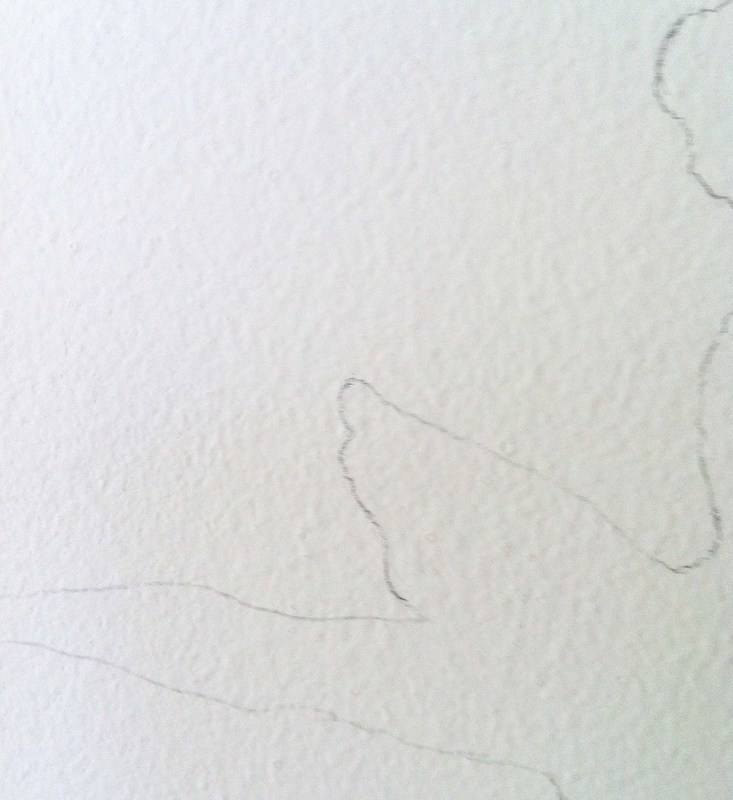 | ...lifting the paper and you will see the outline has transferred to the wall - easy!
If some areas seem a bit too faint, then use your pencil to make the outline a bit darker. |
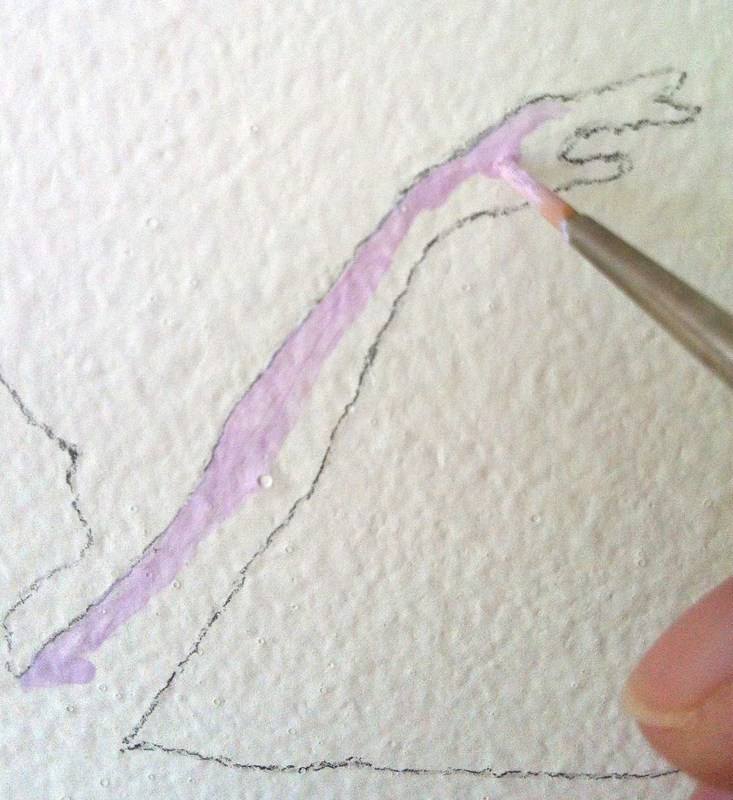 | Tips for painting: for a neat finish it's best to build up the paint over a few layers so don't be tempted to overload your brush with paint! If your paint seems a bit too thick, water it down slightly - aim for the consistency of double cream. Rest your hand on the wall to steady it, for detailed work hold your brush like you would hold a pencil. Here I'm using quite a fine brush to outline with - because I find a small brush is much easier to control - but if your silhouette is quite big use a larger brush. |
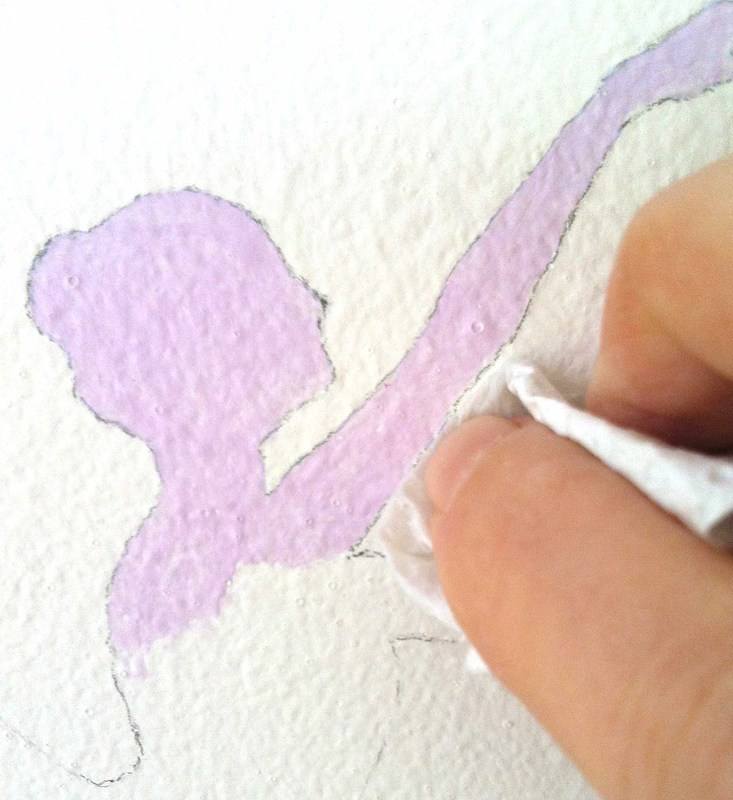 | Whoops... y'know how it is... bit of a wobble and occasionally going rogue not staying within the lines... ...but not to worry a bit of damp kitchen roll to wipe the paint off while it's still wet easily sorts that out! If you find you have a 'ridge' of paint forming at the edge of the outline, just use your finger to lightly smooth it towards the inside of the design. Continue painting but use a little less paint on your brush to avoid that 'ridge' forming. |
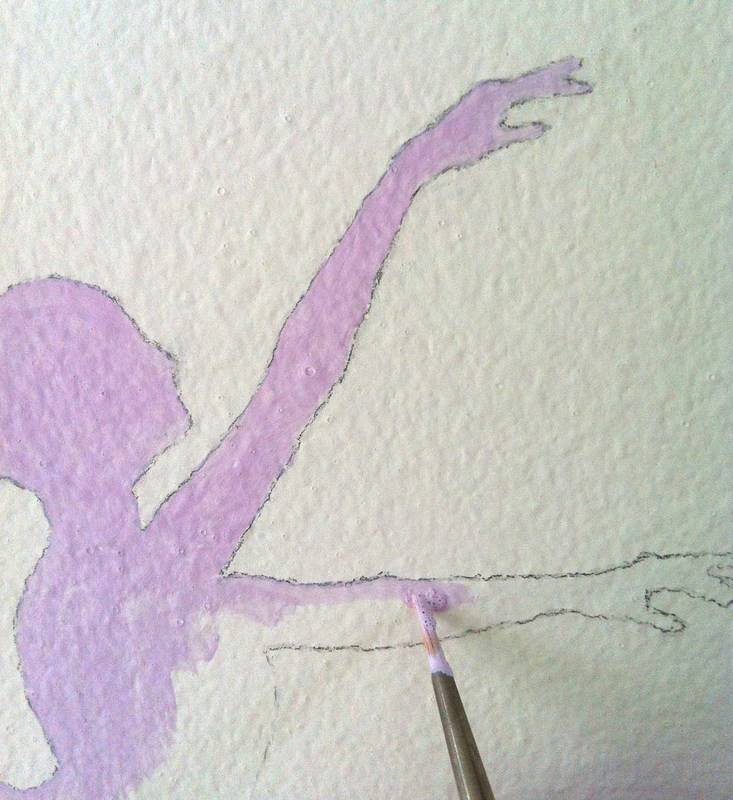 | Back to painting, keep working your way round the outline... don't worry if it's a bit patchy in places, or if you can see the pencil line, we'll sort that out in a minute. |
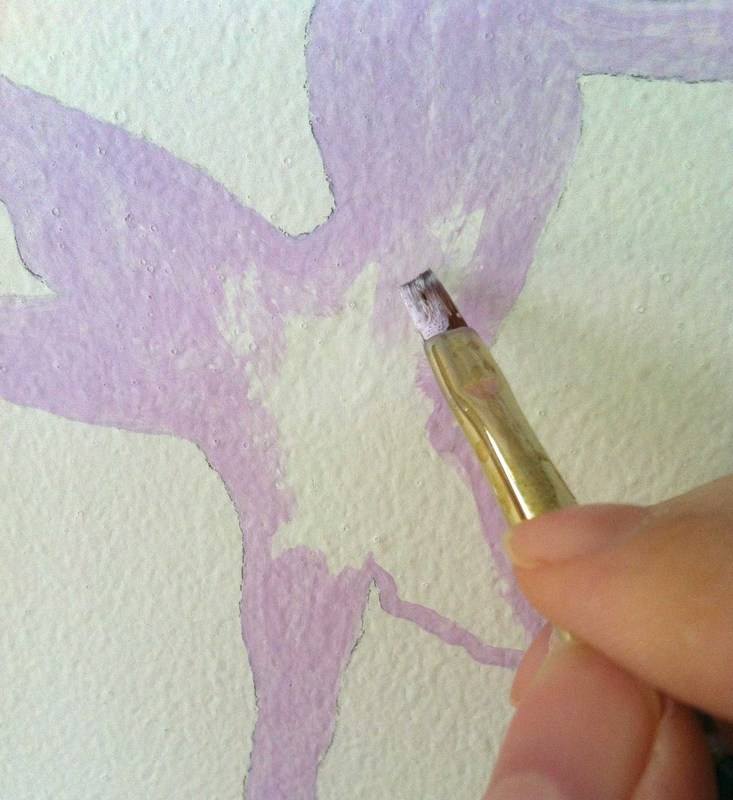 | I used a slightly larger brush to fill in bigger areas and just smoothed the paint on so there weren't any ridges or bumps in it. |
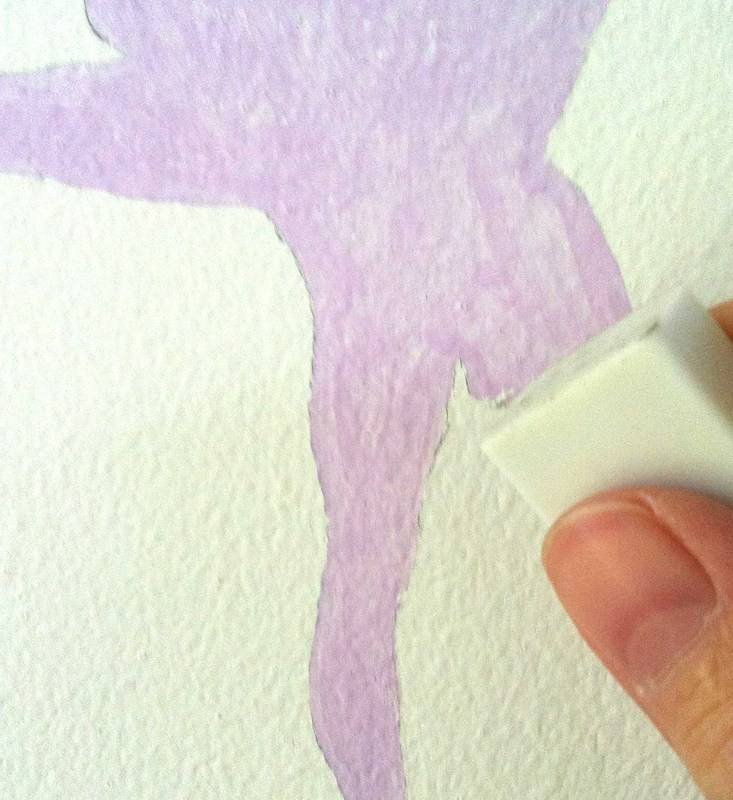 | So after the first coat of paint had dried, I grabbed a soft clean eraser and gently rubbed out any visible pencil lines.
|
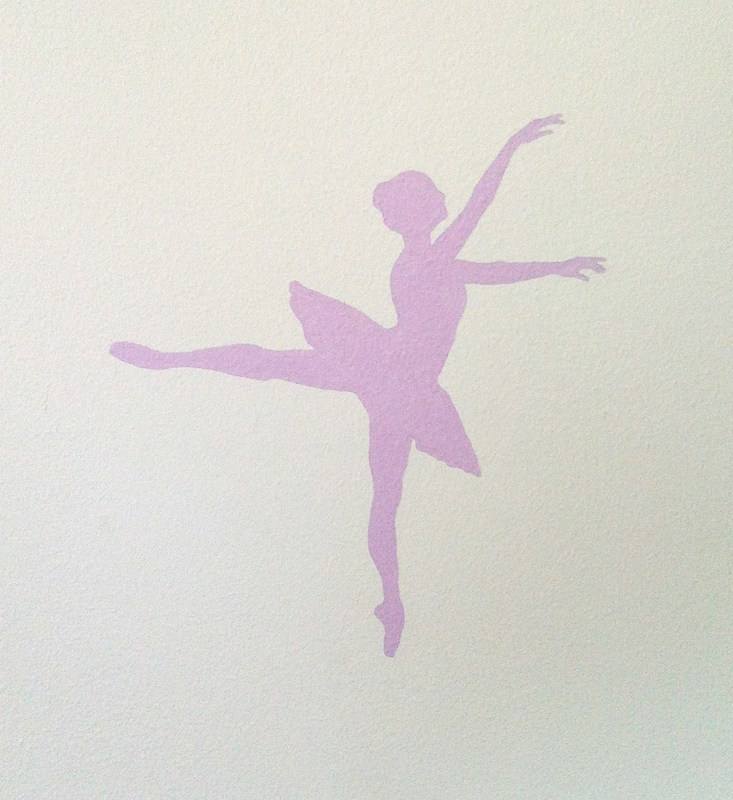 | Then I kept on painting, filling in any patches and working round the outline until I was happy it looked uniformly filled in. Done! For a wallpaper effect repeat the design across the wall at regular intervals. |

